Monday, August 25, 2014

30 Day Shred Results & Review


In preparation for my upcoming wedding, I decided to do the 30 Day Shred. 
I have heard lots about Jillian Michaels and this program, but have never done one of her workouts before...
Let me tell ya, it was rough!
Luckily, they did create the program to have examples of the advanced moves and modified moves.  I tried to always do the advanced moves, but used the modified moves when I just couldn't physically do it (like jump lunges--I'm definitely not coordinated enough for that). 
Overall, I really enjoyed felt that the workout was effective. 
Starting weight: 132.2
Thighs: 20 inches
Arms: 10.5 inches 
Bust: 32 inches
Waist: 28 inches
Hips: 31 inches
Before pictures on Left/After pictures on Right


Ending weight: 130.4 (-1.8 pounds)
Thighs: 20.5 inches (+ .5 inches)
Arms: 10.5 inches (no change)
Bust: 32 inches (no change)
Waist: 26 inches (-2 inches)
Hips: 39 inches (-2 inches)
Total weight loss: 1.8 pounds
Total inches lost: 3.5
I may not have amazing results like some people, and I definitely didn't lost "up to 20 pounds in 30 days" like the DVD case said; however, I can see a huge change in my muscle definition and, at the end of the day, your weight is just a number--it's how you feel about yourself that matters. 
I feel pretty dang proud of myself right now and I feel fit and ready for my wedding! 
(which, by the way, is on Friday!! eek)
I will definitely do the workout again--but probably not for a consecutive 30 days. 
I think it would be very effective to do each level once a week (3 days a week) and maybe cardio 2 days a week at the gym. 
Photobucket

Saturday, August 2, 2014

Seashell Bouquet Tutorial


I have always loved the idea of doing a non-traditional wedding bouquet that didn't include flowers, so once I decided on a beach wedding I knew I had to do a seashell bouquet!

I looked on etsy and considered buying one, but I wasn't completely in love with any of the options (or the hefty price tags), so I busted out my glue gun and got to work!


You won't really need a whole lot of supplies for this project. I made a trip to Michael's and Hobby Lobby to gather what I didn't already have: 


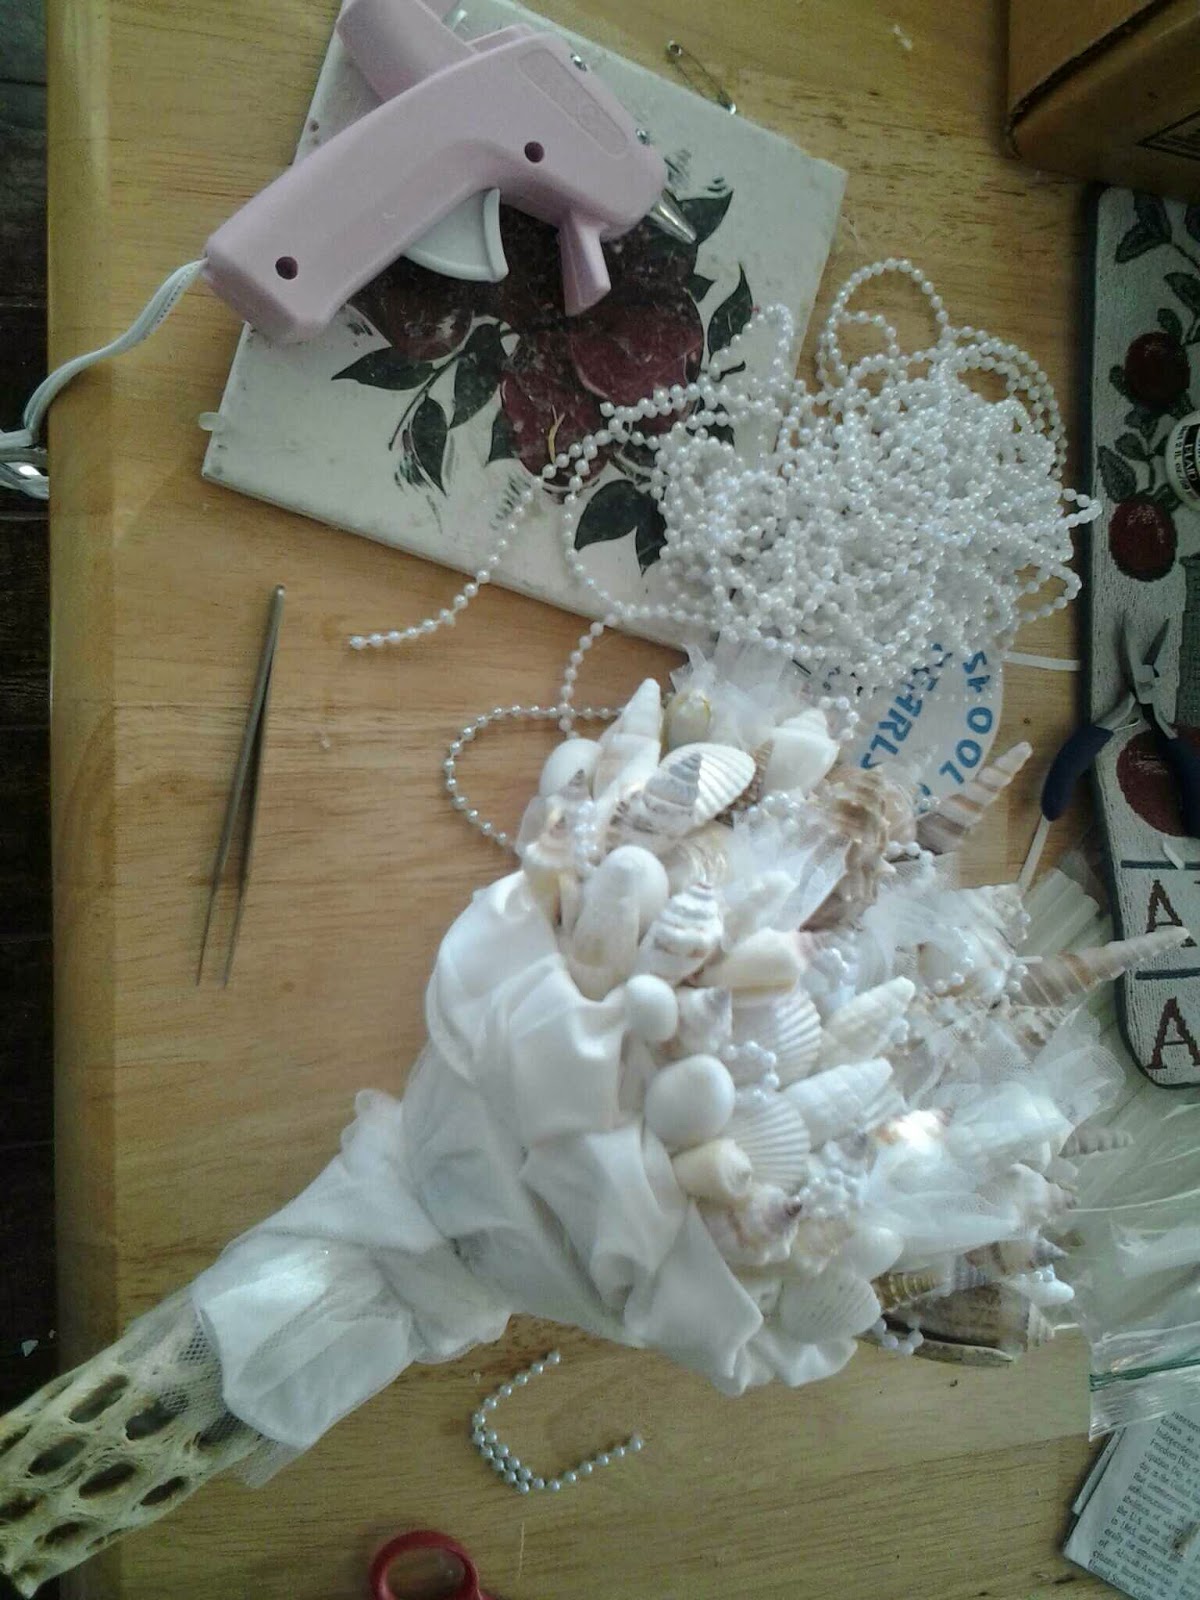
From left to right: I purchased the small cholla wood from Hobby Lobby, an old string of craft pearls, remnants of fabric and tulle, my handy glue gun and glue sticks, and floral pins (or wire, which I later discovered worked better). 

I ended up getting several different bags of shells so I could have a good variety, so the first step for me was to sort my shells into piles--this makes it easier when you are filling your bouquet. 

I then tested out my options for gluing the shells on--I knew I wanted height, so the original floral pins I purchased were not a good option for me, so I dug out some old wire and used it instead. 

I twisted the wire (for added strength), glued the wire to the inside of the shell, then dabbed some glue at the other end of the wire before inserting it into the foam. 


I continued filling my foam with shells until I was happy with it. 
I probably could have knocked this out in one day, but did it over the span of a few nights. 

As you can imagine, the bouquet is pretty heavy, so we were afraid that the plastic handle would not be durable enough to hold the weight. To alleviate this fear, we decided to bend thick wire along the length of the handle and tape it to the inside. I only had silver tape and didn't want to run to the store, so I just grabbed a can of spray paint and painted the silver tape white (while covering the top half with plastic bags of course)--I would recommend buying white tape, instead, if you do this step. 
(As you can see, I did this step and the next backwards, but I didn't want you to make the same mistake, so I switched the order in this tutorial)

Once I was happy with the arrangement, I figured out how I wanted to cover the base. I wanted my bouquet to be natural colors, so I knew I did not want colored material at the base. 
I decided to ask David's Bridal to save the material that they cut off my dress when they hemmed it--they thought it was a weird request, but I had a plan! 
I wrapped the remnants around the base of my bouquet, weaving it in between the wires (this can be done a variety of ways, so just play with your bouquet until it looks good). 

I then cut my cholla wood to the right angle for a snug fit and glued it on over the plastic base and continued to wrap the base with the remnants (this also worked to cover the glue). 

I decided my bouquet needed a little bling, so I cut small loops of craft pearls and used tweezers to hold them in place and glue them in between shells. I also cut a few small pieces of tulle and poked them in between some of the shells.

Overall, I am so happy with my custom made, non-traditional, seashell bouquet and I cannot wait to carry it down the aisle sand. 


Photobucket