I forgot to take a picture of the assembled table before we started the project, so this will pick up from when it was disassembled.
We started by sanding the table and bench top with a hand sander. In order to get all of the finish off, it took a few hours...
We used sandpaper on the chairs and table legs since it was a smaller surface and had the round spindles.
I then wiped off all of the sawdust/cleaned it all with Mineral Spirits:
Then, we used the best DIY invention known to man: Liquid Sandpaper/Deglosser! Because the table legs and chairs had so many round edges, I didn't trust that the sandpaper was enough. I simply painted two coats of this stuff on with a paint brush and let it dry.
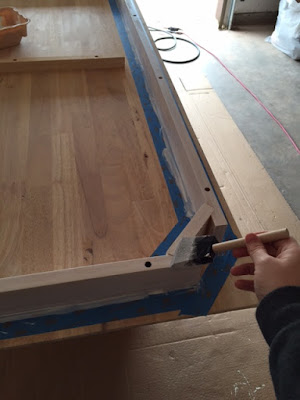
Once the Liquid Sandpaper was dry, I used Gripper primer on the table legs, trim on the table and bench, and chairs (since I was painting them). This stuff was THICK, but still took about two coats before there wasn't any wood showing through.
Once the primer dried, we painted the table legs and trim white and painted the chairs this color. As you can tell, I've had this paint for several years just waiting on the perfect project! haha
The primer helped, but it was still necessary to paint two coats on the chairs to get an even coverage.
I didn't think we would need much paint for the table legs and trim, so we just bought a sample of white paint, but of course that wasn't enough. Who knew it was so hard to get even coverage with white paint (especially considering I used primer too)? Probably, everyone but me! haha. Learn from my mistake and buy a quart!
I always said I would never stain another piece of wood, because I hate it so much, but I really wanted to have a stained table top, so it was time to get it over with! We chose Minwax Classic Gray Wood Finish. We used a high density foam brush to paint the stain on, let it sit for 15-20 minutes, then wiped it off using rags. We did this twice to get the color we wanted.
Once the desired color was achieved and it had dried, we used Wipe-On Poly to seal everything. I went a bit crazy with this stuff because I couldn't stand the thought of it getting damaged (I probably did like 5 coats).
Because the chairs would get the most wear and tear, I didn't trust the Wipe-On Poly for them, so we used Paint-on Polycrylic. I did two coats on the spindles and three/four on the seats.
In hindsight, I probably should have used a darker gray on the chairs because it almost looks white depending on the lighting, but I already had the gray and it was free, so I'm okay with my choice!


