


I continued filling my foam with shells until I was happy with it.
I probably could have knocked this out in one day, but did it over the span of a few nights.

As you can imagine, the bouquet is pretty heavy, so we were afraid that the plastic handle would not be durable enough to hold the weight. To alleviate this fear, we decided to bend thick wire along the length of the handle and tape it to the inside. I only had silver tape and didn't want to run to the store, so I just grabbed a can of spray paint and painted the silver tape white (while covering the top half with plastic bags of course)--I would recommend buying white tape, instead, if you do this step.

(As you can see, I did this step and the next backwards, but I didn't want you to make the same mistake, so I switched the order in this tutorial)
Once I was happy with the arrangement, I figured out how I wanted to cover the base. I wanted my bouquet to be natural colors, so I knew I did not want colored material at the base.
I decided to ask David's Bridal to save the material that they cut off my dress when they hemmed it--they thought it was a weird request, but I had a plan!
I wrapped the remnants around the base of my bouquet, weaving it in between the wires (this can be done a variety of ways, so just play with your bouquet until it looks good).

I then cut my cholla wood to the right angle for a snug fit and glued it on over the plastic base and continued to wrap the base with the remnants (this also worked to cover the glue).
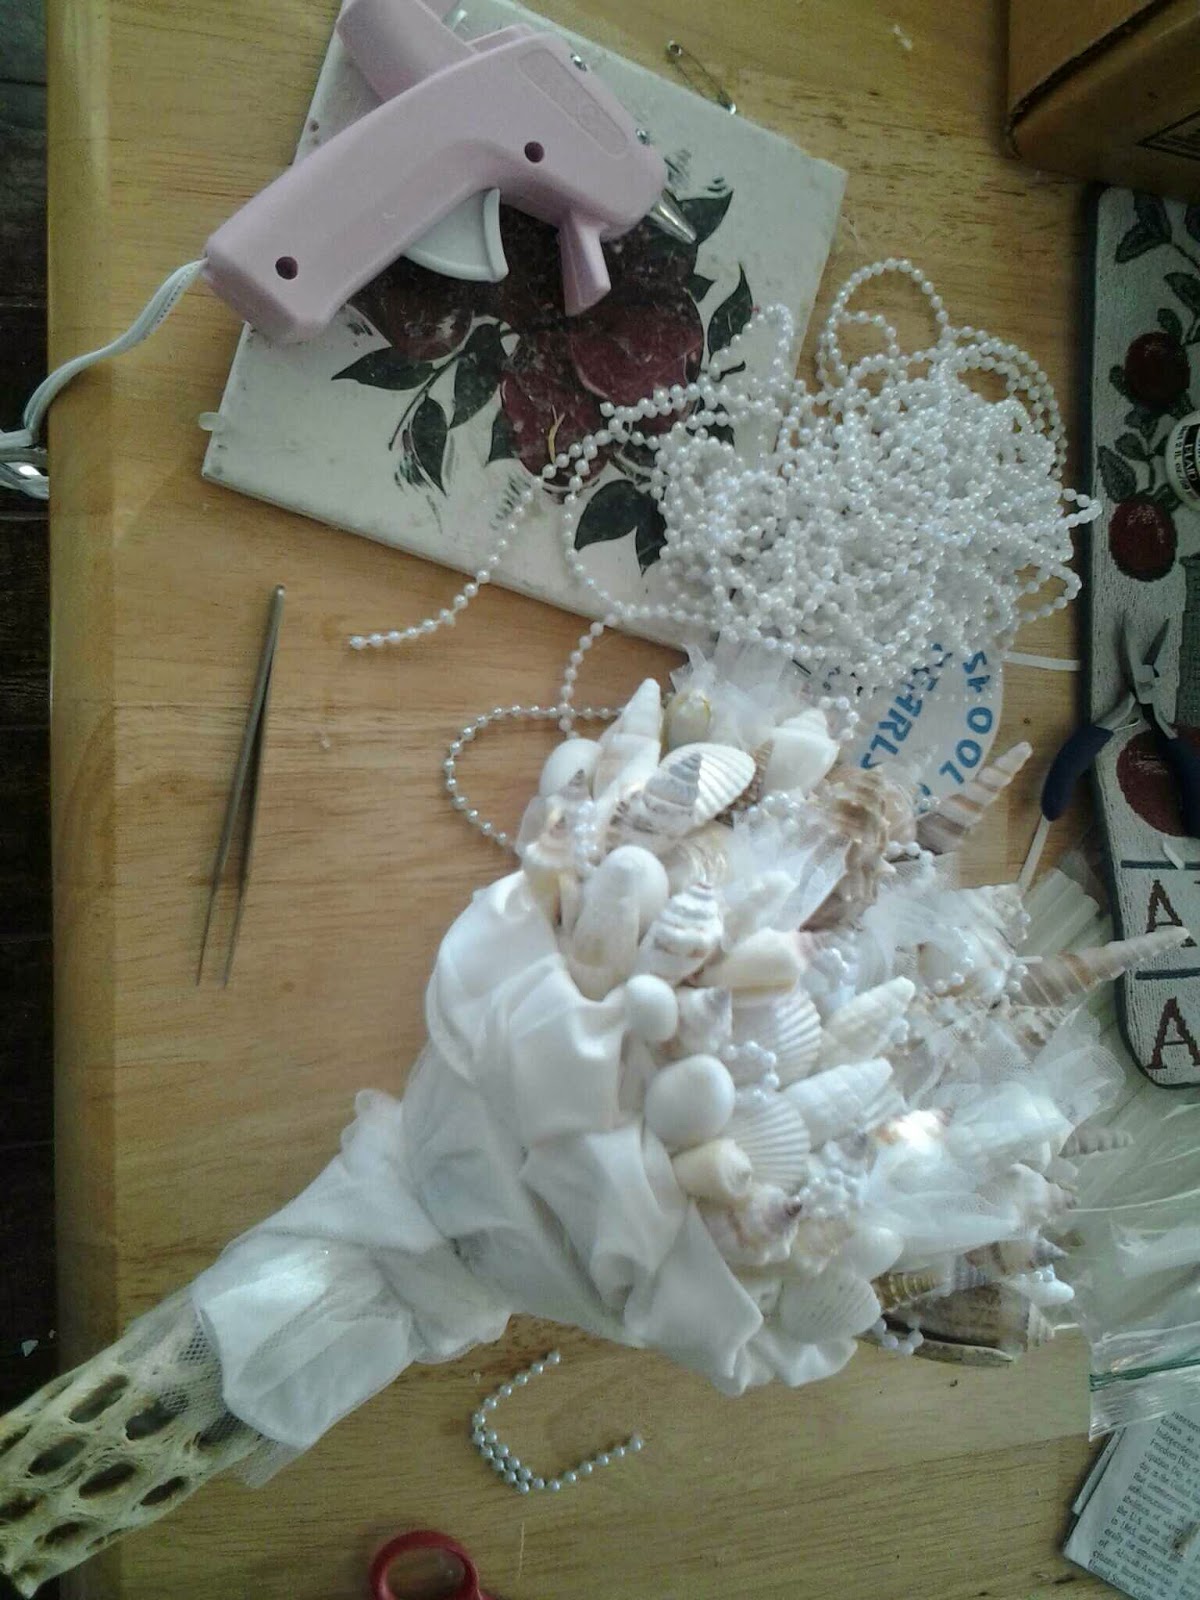
I decided my bouquet needed a little bling, so I cut small loops of craft pearls and used tweezers to hold them in place and glue them in between shells. I also cut a few small pieces of tulle and poked them in between some of the shells.
Overall, I am so happy with my custom made, non-traditional, seashell bouquet and I cannot wait to carry it down the aisle sand.


That is so cool. You're really crafty. I wish I had the patience for crafts.
ReplyDeletethat is such a unique DIY... i could never manage that!
ReplyDeleteoh wow so pretty
ReplyDeletedang girl, this is awesome!
ReplyDelete